Computer-Controlled Machining
Week 7
Computer-Controlled Machining
Tasks
make something big
CLIMBING PEGBOARD
For this week assignment I decided to buid a climbing pegboard for a friend of mine that asked for my help. These kind of pieces are usually buit in CNC routers with a manual finish process.
Scheme of the climbing pegboard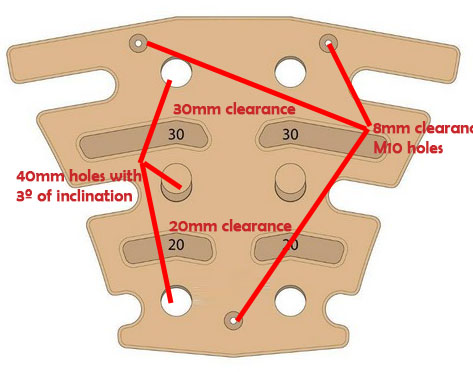
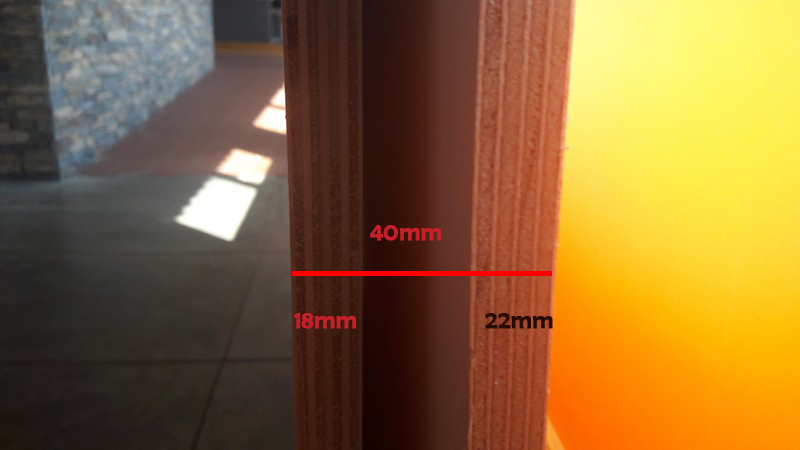
I searched wood types to machine this board and I found near a local supplier medium density overlay (MDO) boards of 22mm and 18mm each to glue after and achieve the 4cm thickness.
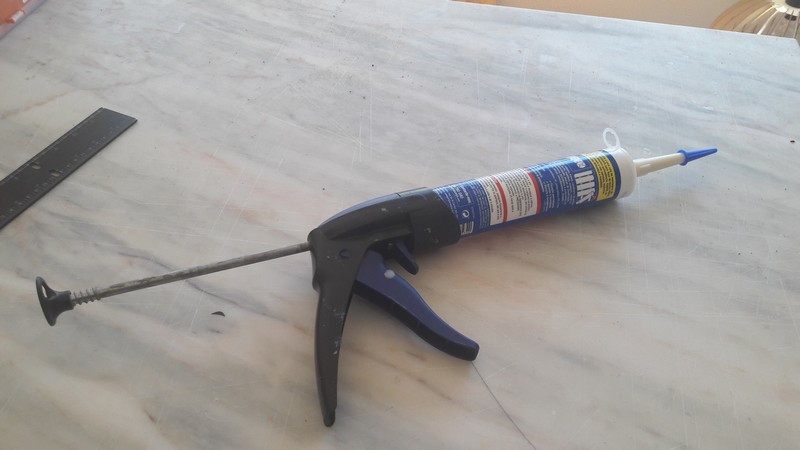
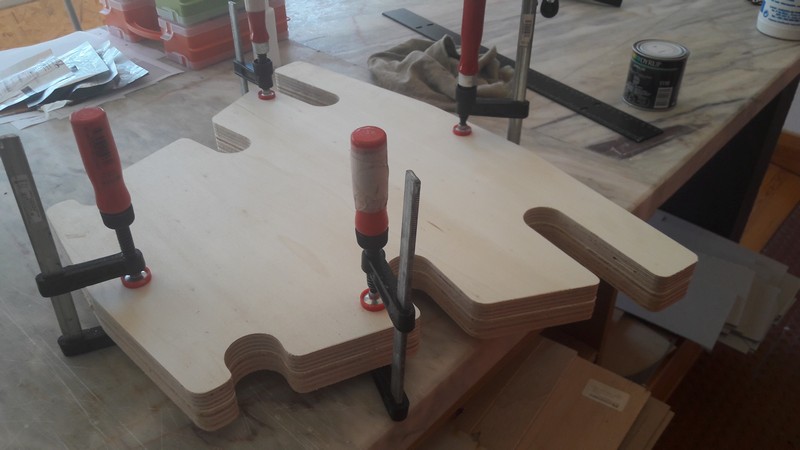
I cutted this boards separately and the glue them with liquid nail glue, a very strong glue for this kind of operations.
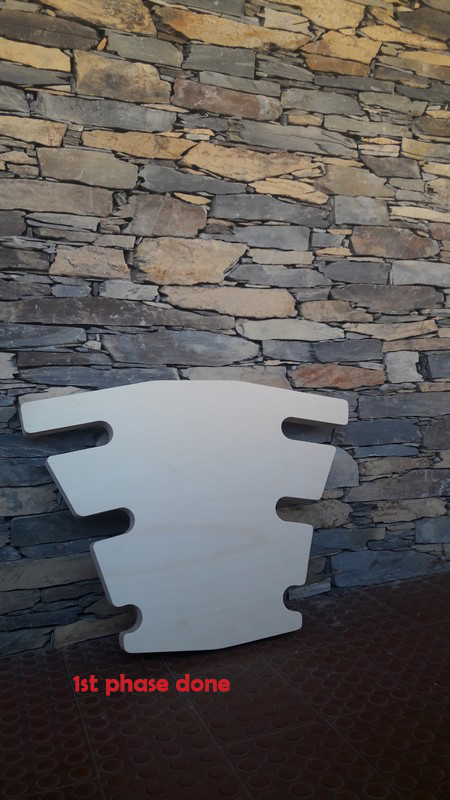
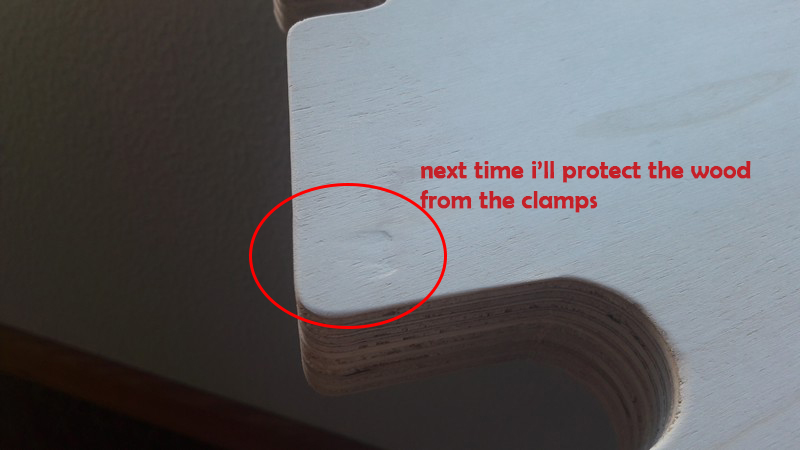
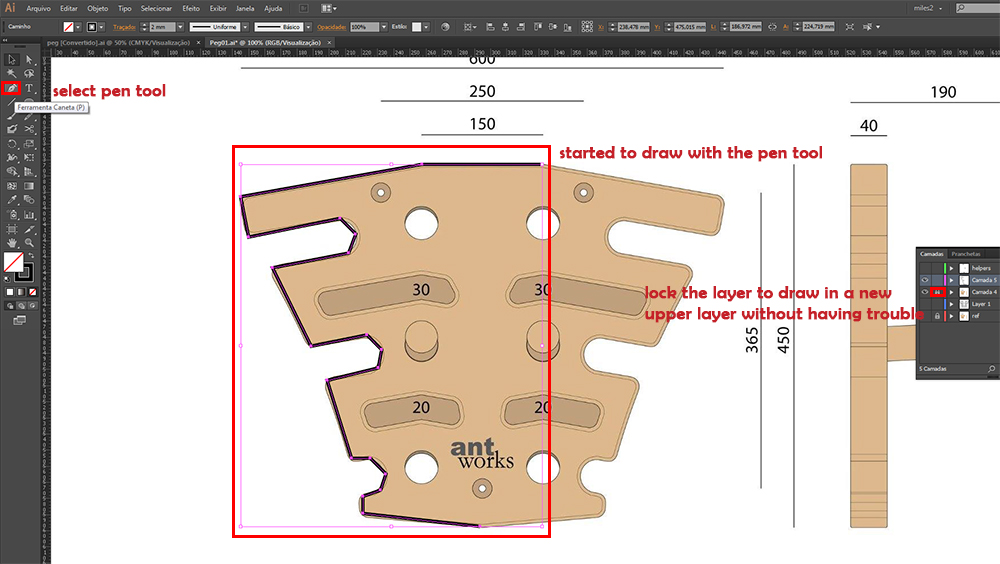
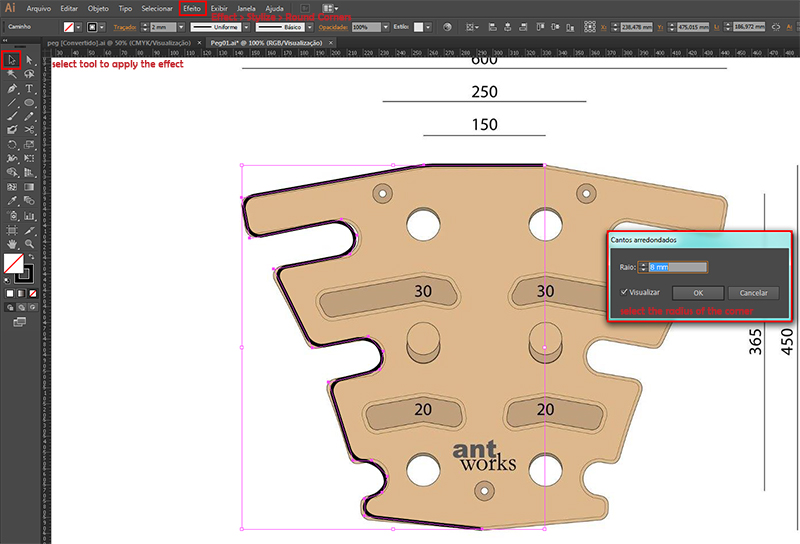
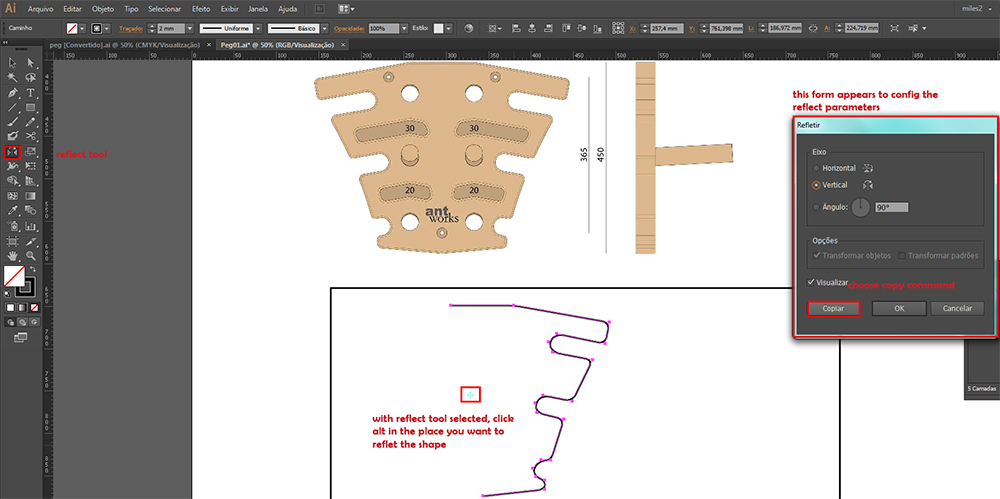
I started drawing in illustrator with the photo locked in background and used the pen tool to start drawing half of the pegboard shape. The other half I used reflect tool.
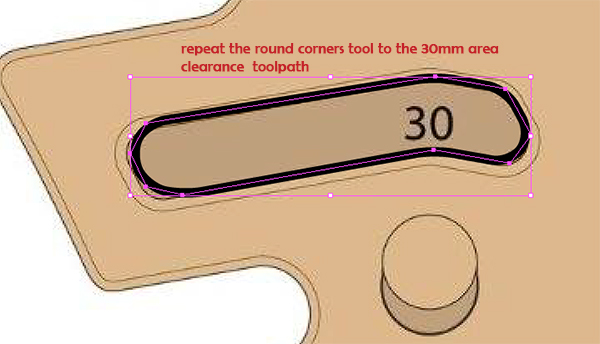
Use round corners effect to the shape I draw (Effect > Stylize > Round Corners)
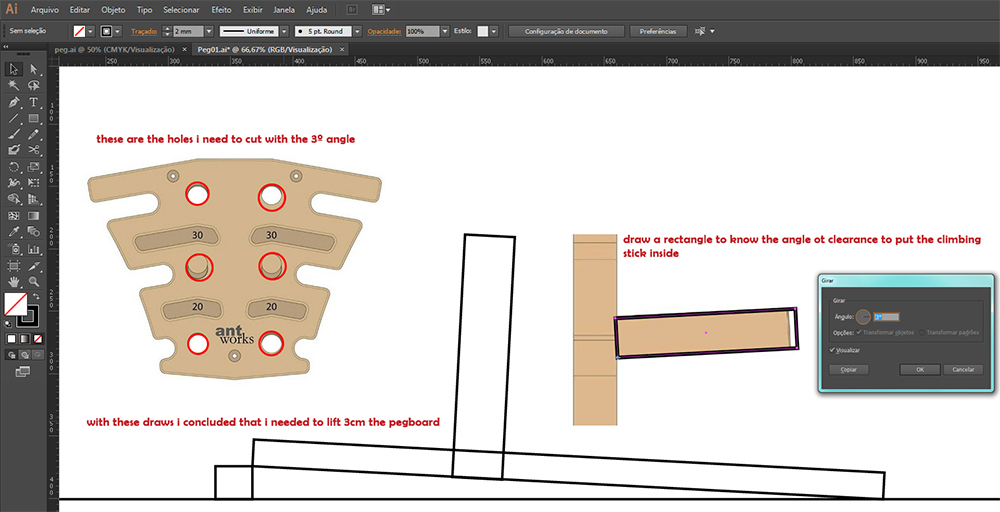
Calculating the angle for the pin holes
After completing the draw I checked all the alignments and saved my file. I was ready to go to CAM software. I’m learning to use new Autodesk Artcam 2017 that I downloaded with my Autodesk education license but for this board I used Artcam 9, which I’m more familiarized with. I started by creating a new model and importing the vector drawn in illustrator (saved in Japanese format).
Creating model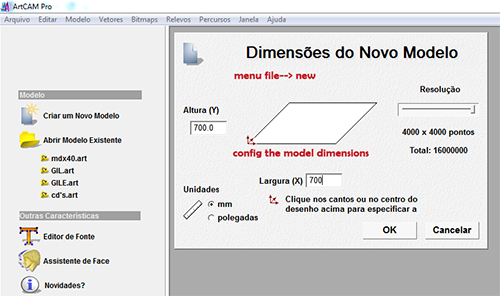
cuting parameters for the model
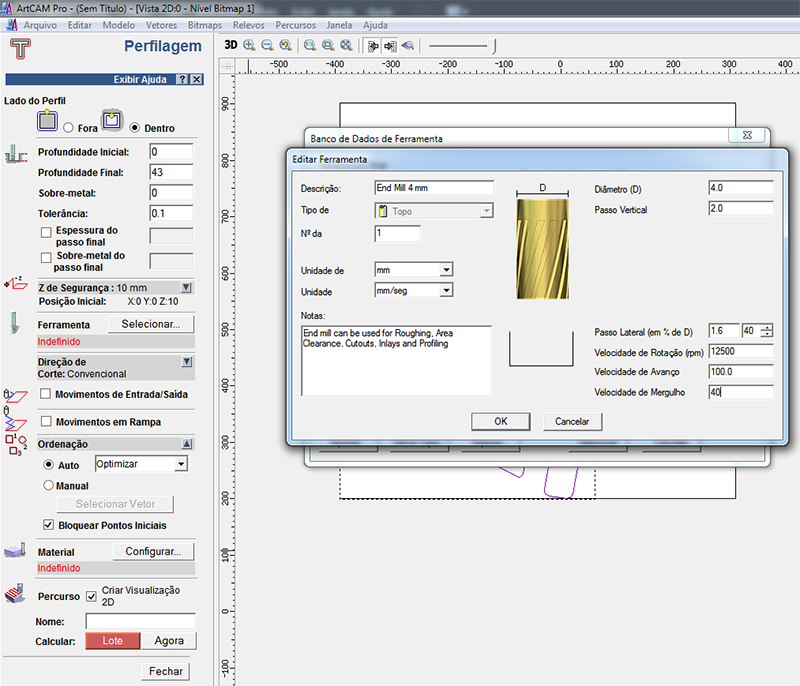
It was time to start the second cnc round. After calculating the angle for the wood pins I had to lift the upper side of the board 3cm. I used 25mm and 5mm wood to achieve it, then clamped well the board to the platform. This was the first time I did an angle machining, so almost everything was new to me. Even the depth of cut I had to increase, because one side was 3mm down from the other. I cut the holes in 3 times, with diferent zero Z for each one of them. After the cuts, it was time to put the board in place and start the clearance jobs and finish the board. Now things got easier !
Some issues during the first clearance toolpath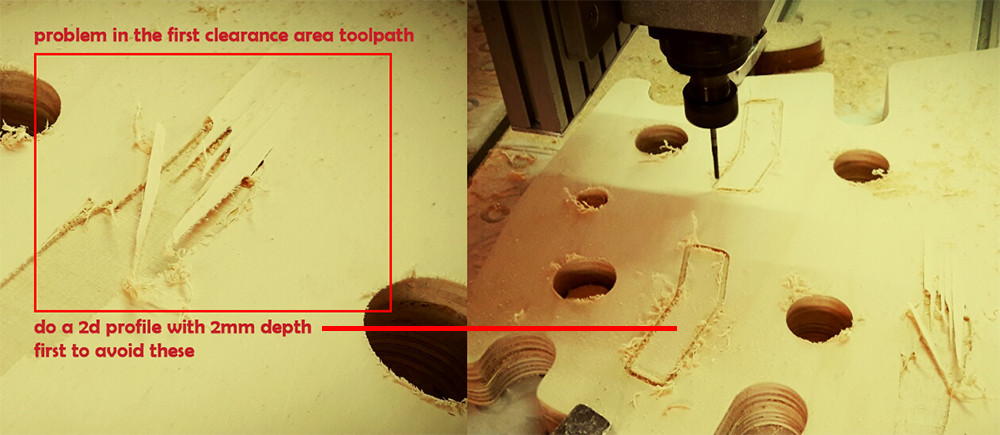
machining on a plane axis
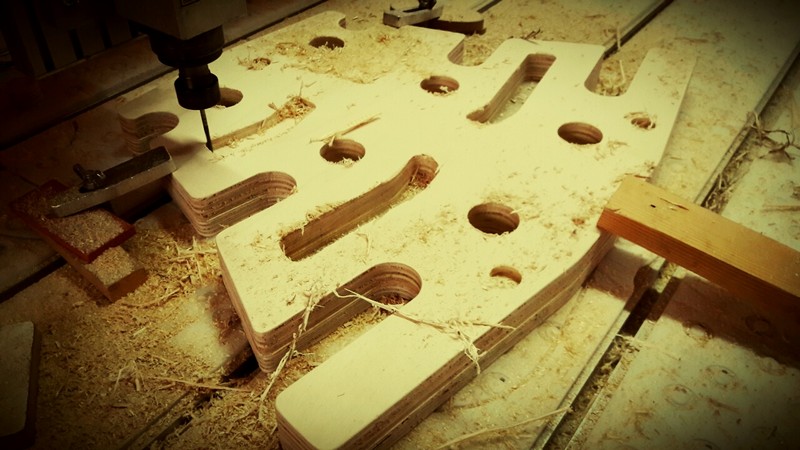
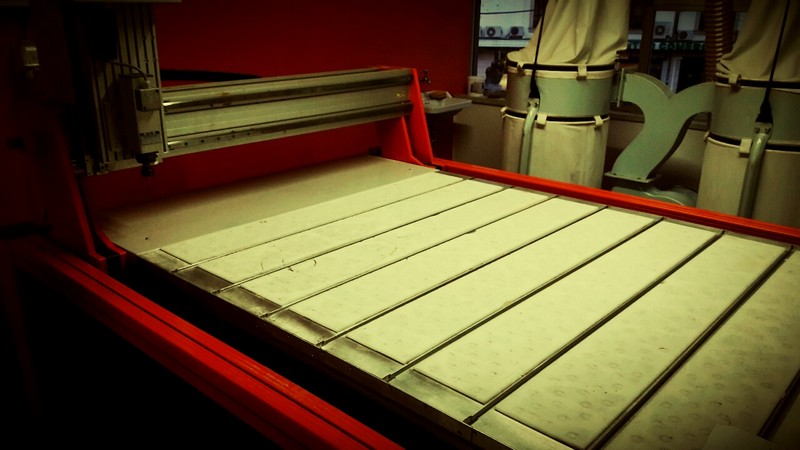
Security in the Lab is very important. For this work, I’ve used protections Glasses and a mask for the dust. Our CNC is closed in a secured and isolated room.
Security duties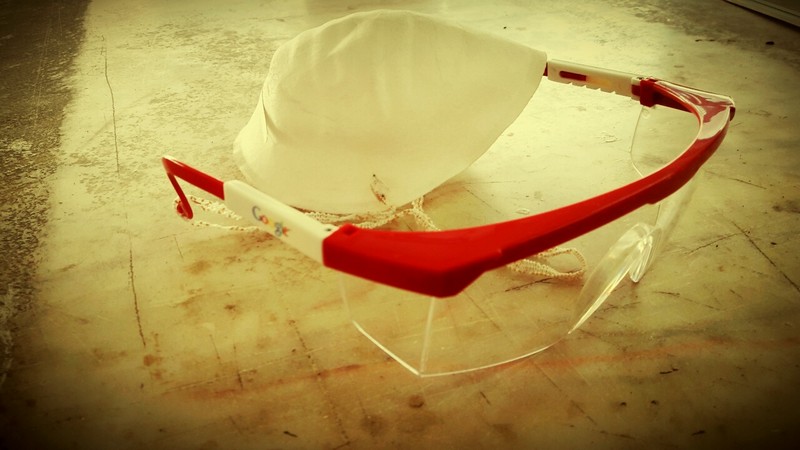
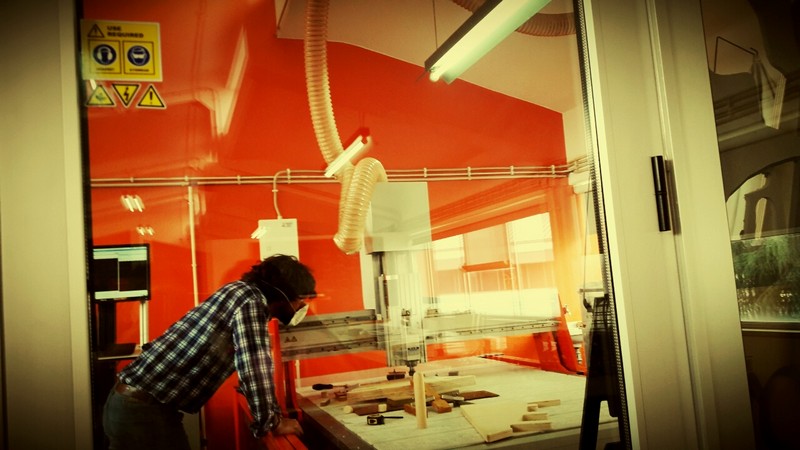
Cleaning duties
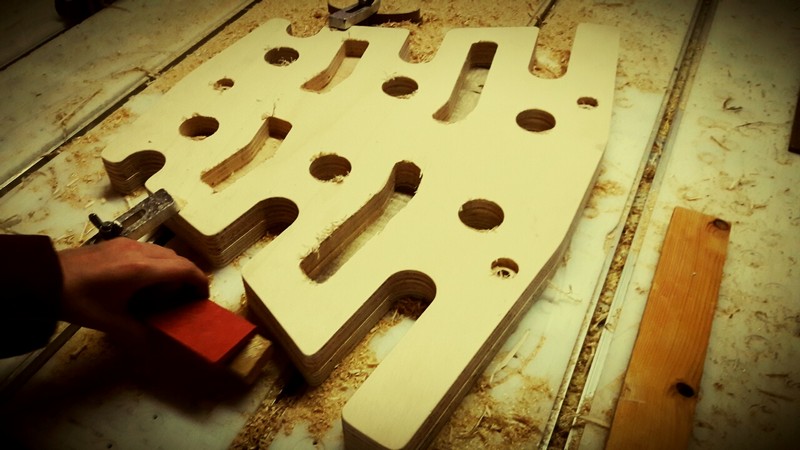
Final Job: scrub the board with Sandpaper and test! Now all I need is to chamfer the corners a bit more.
Final climbing pegboard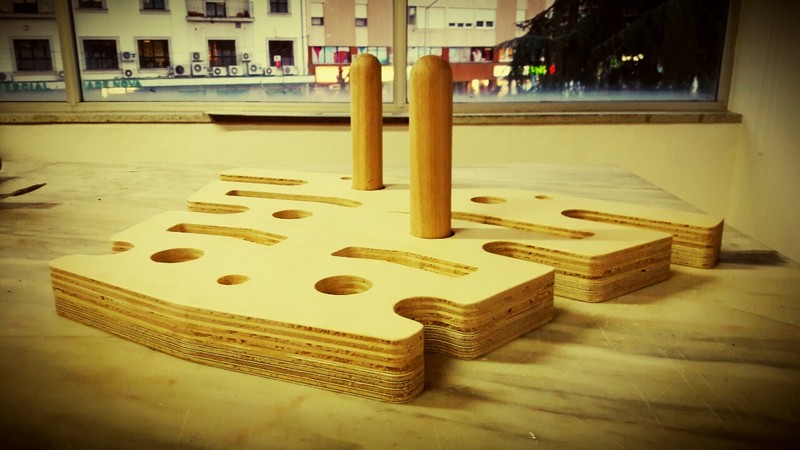
References - Autodesk Artcam Community,
Artcam file
Vector file for the pegboard