Week no. 10
Output Devices :
-
add an output device to a microcontroller board you've designed and program it to do something;
Board Design
This week’s assignment was to add an output device to a microcontroller board we’ve designed
and program it to do something.
Since final assignments deadline is getting closer
I’m trying to make things that I can use for my final project as well.
I want my brake light to have LEDs on it, that that was activated as you brake.
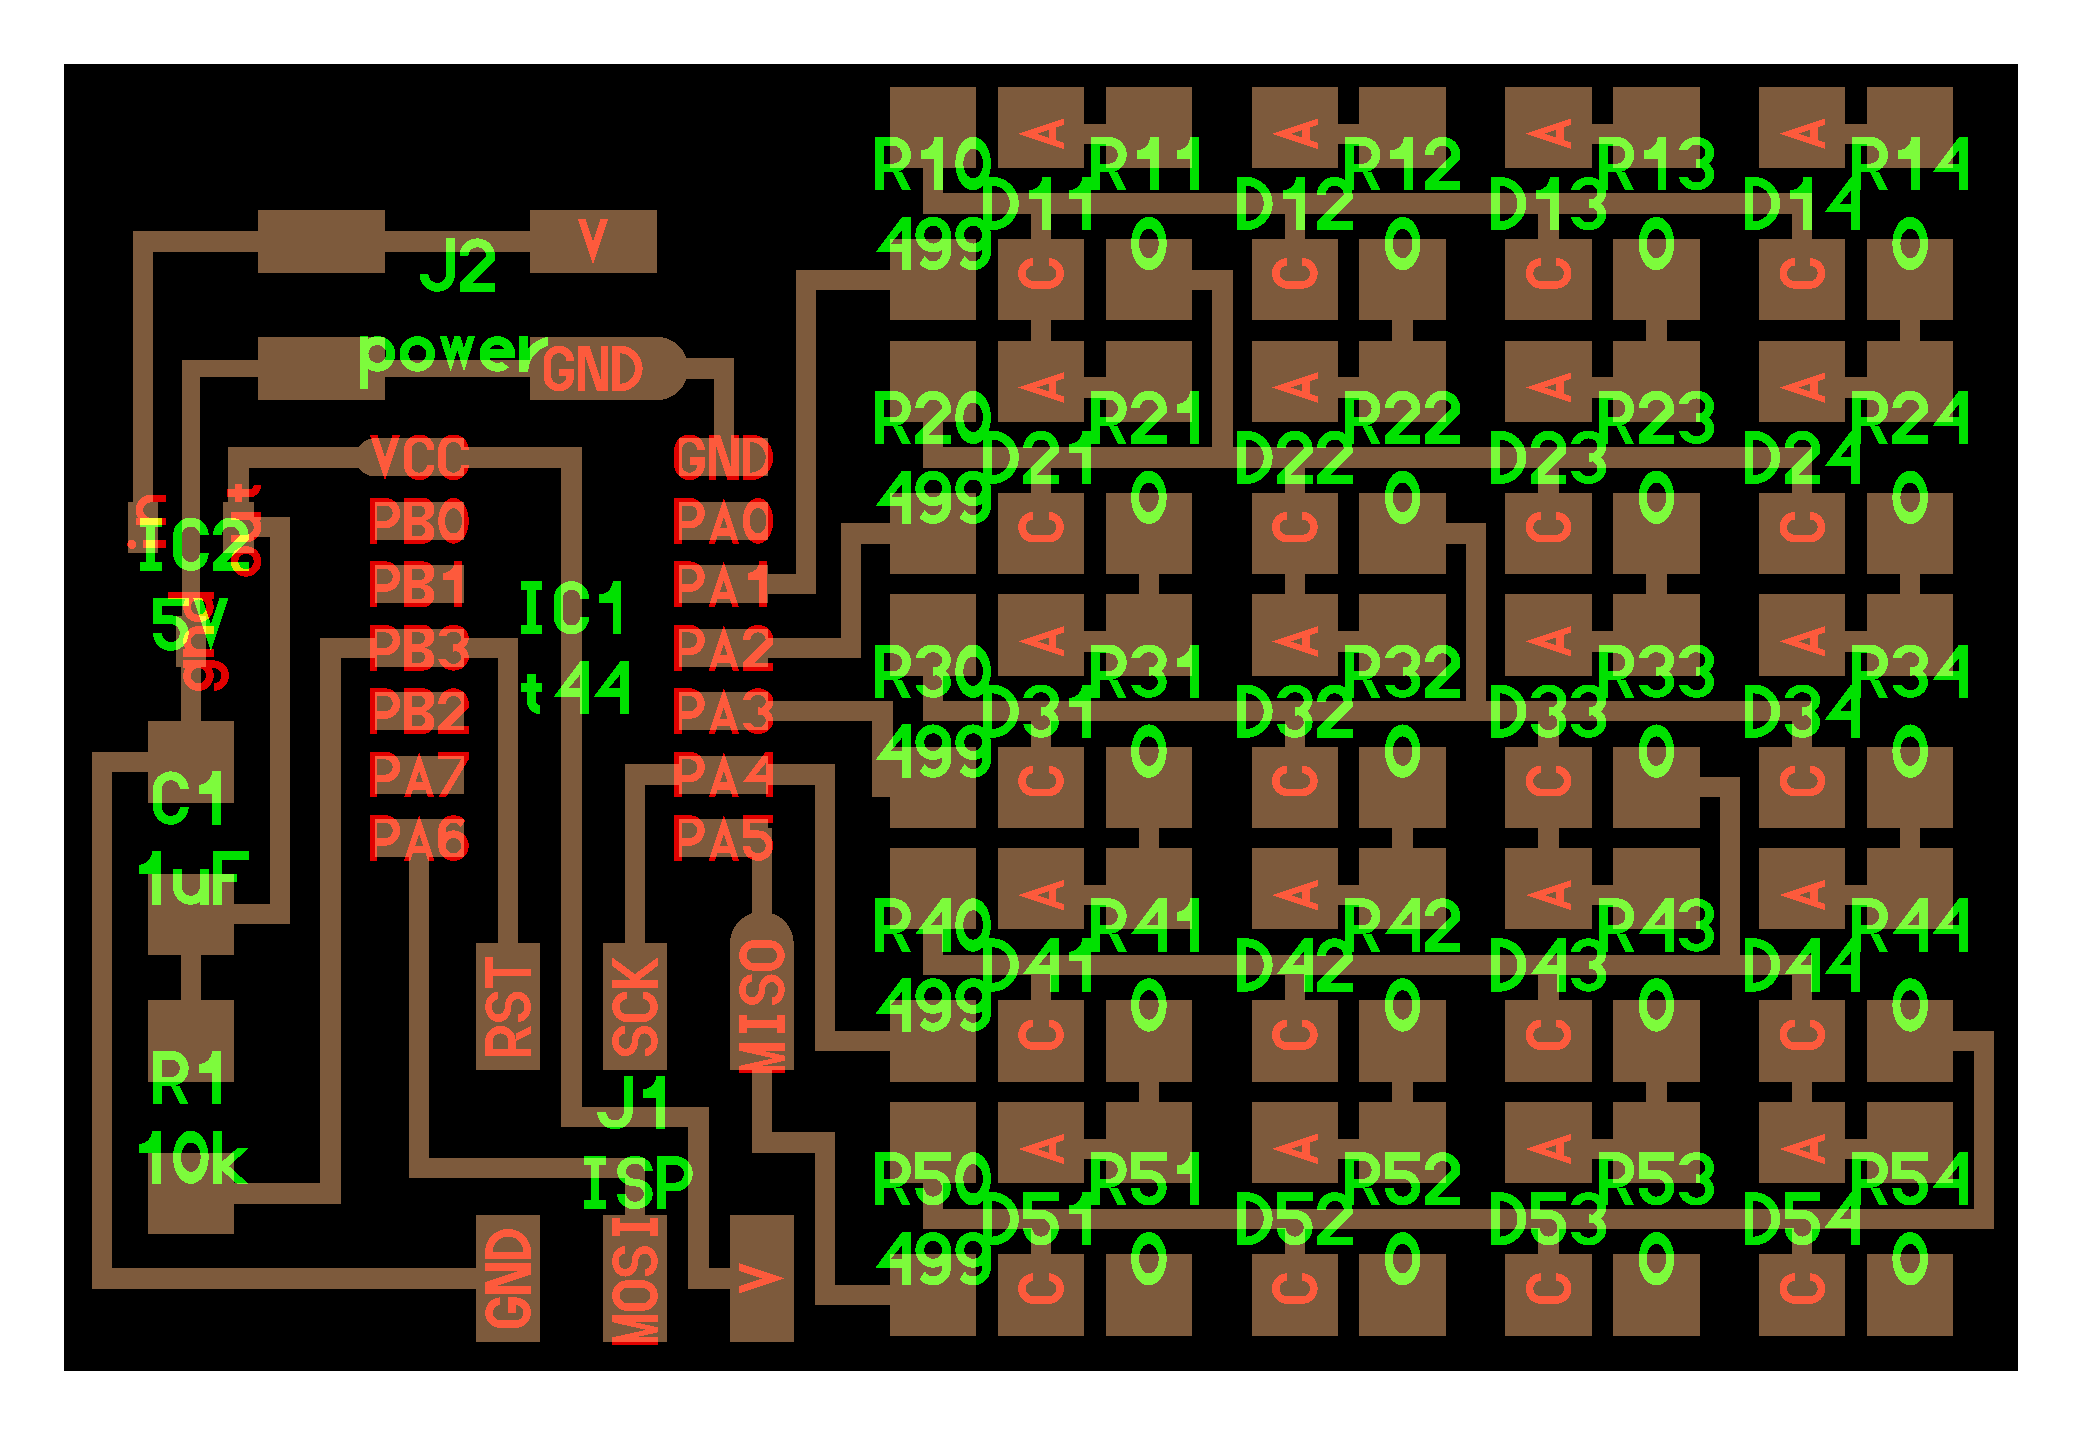
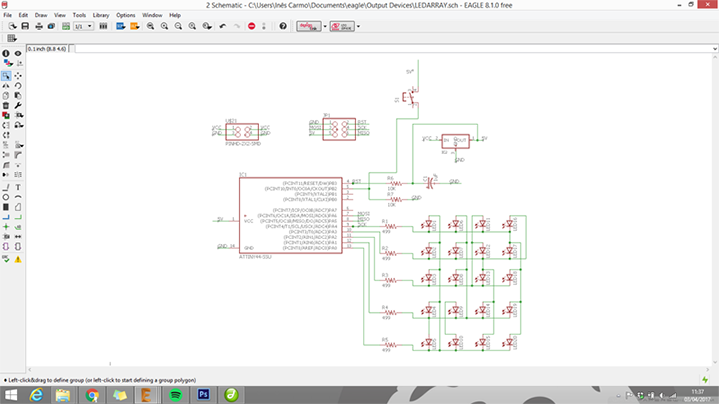
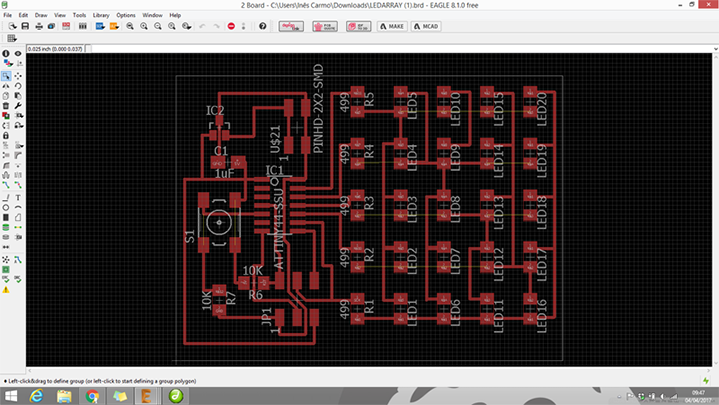
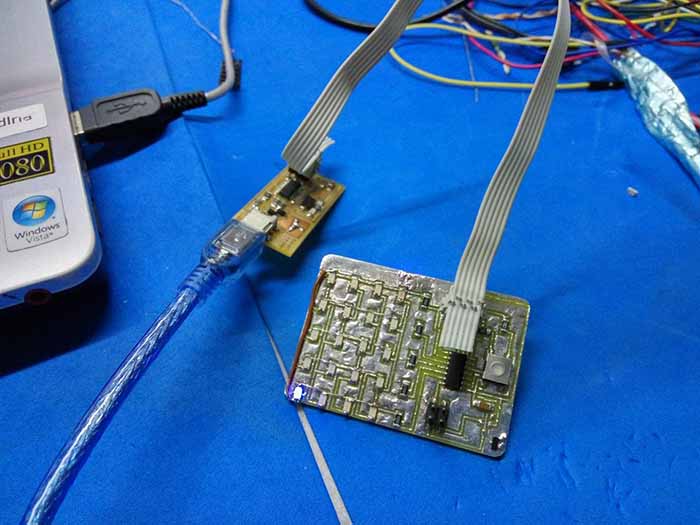
So for this week’s assignment I wanted to make a microcontroller board with a LED Array.
I’ve looked at Neil’s designs for LED array board and I’ve added a button.
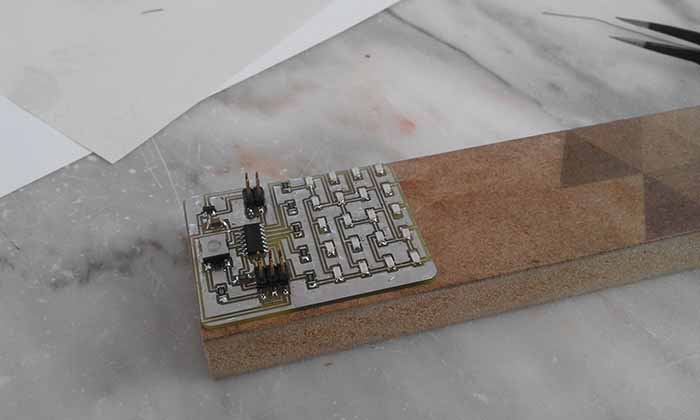
Led Array :
All files for making the board can be found here.
The LED Array is done using 20 LEDs and only 5 pins with the great Charlieplexing technique.
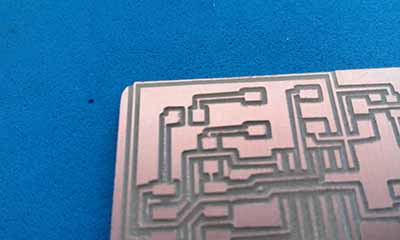
Neil is using a nice trick in the LED Array to avoid the use of a lot of
resistors and keep the board cleaner - There are 2 layers to the board.
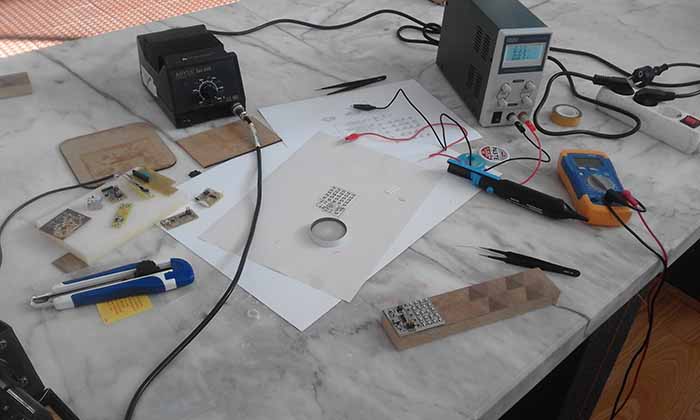
Making the Board
Same process as making boards in the recent weeks.
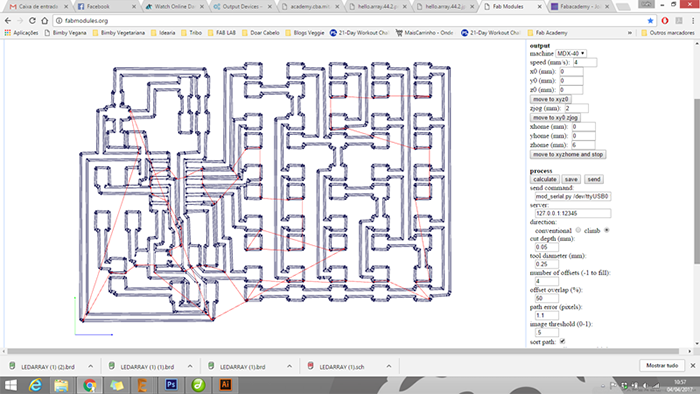
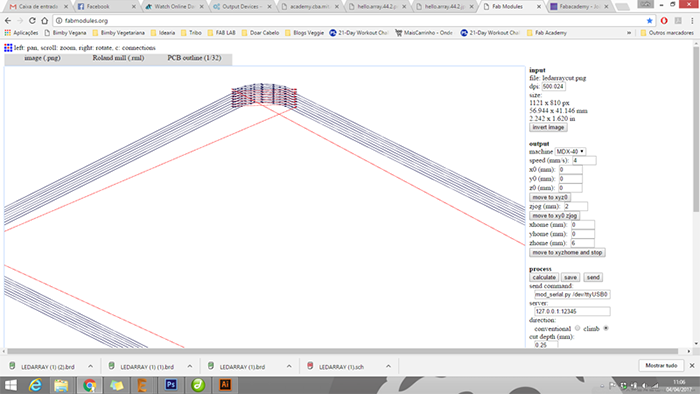
I had a problem in the board cutting part, my drawing was too small,
but i think that i can still save the board (i hope).
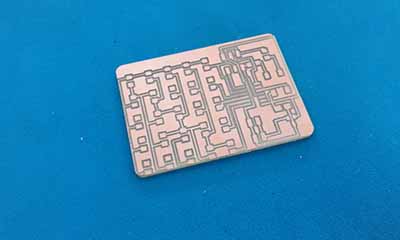
This board requires a lot of soldering, wish me luck!
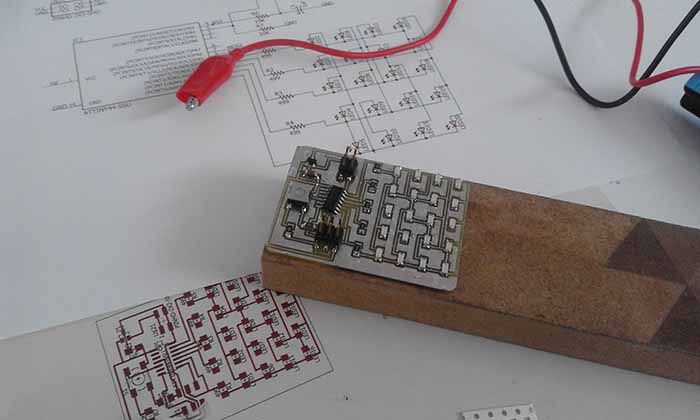
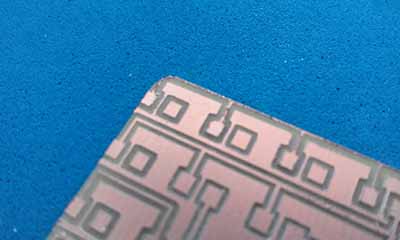
After the first layer was done and because i dont have an epoxy film in my lab
i did a brige with a string of wire (with the smallest diameter that i found).

Programming the Board
This time i tried to use Neil's code.
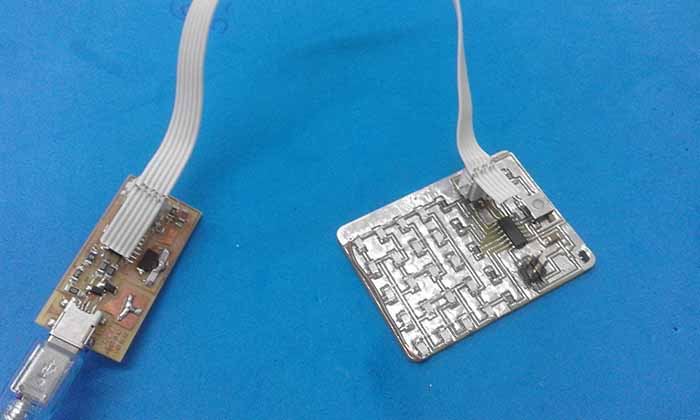
When I was checking the board to see if I had missed anything I noticed there were two LED's that were not well.
First I thought it was the polarity but the truth is that they were not working in any of the ways
so I switched for two new leds, and tryed again.
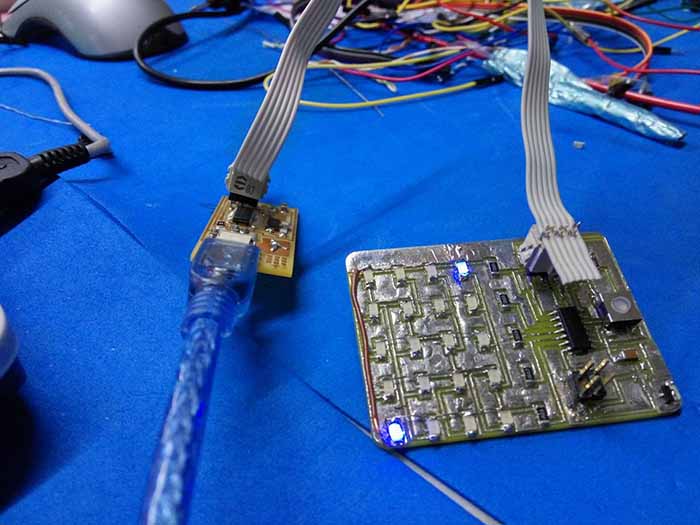
It's still not working well, but at least two LED's are blinking! I will keep triyng!