Week no. 2
3D Modeling
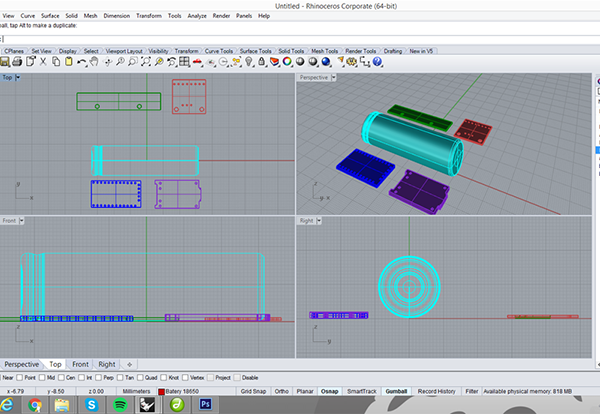
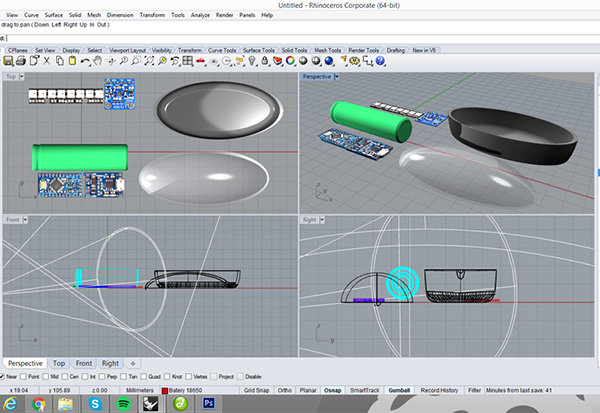
To model my object i used a software called rhinoceros3D.
I started by designing the components
that i will use in the brake to try to understand how can i fit them together.
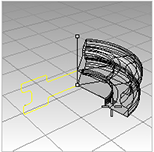
To design the conponents i used simple comands, as an example, to do the 18650 Battery i draw the batery
profile and did a revolve.
The revolve command creates a surface by revolving a profile curve that defines the surface shape around an axis.
You can do this command in 4 steps:
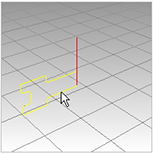
1. select curves;
2. pick the start of the revolve axis;
3. pick the end of the revolve axis.
4. specify options.
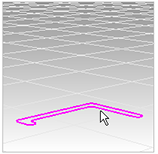
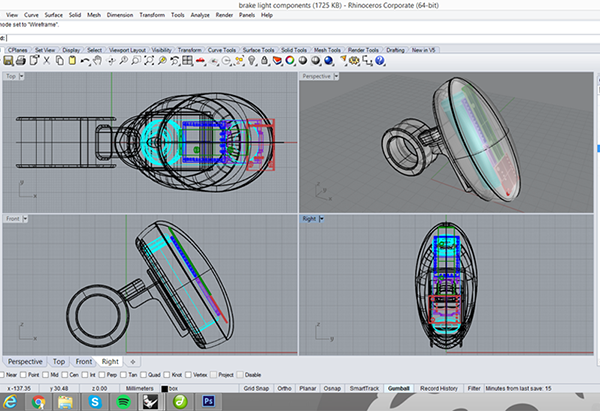
For the other components (arduino mini, MP1405 battery charger, NeoPixel LED Stick and accelerometer) i just draw the shape of each one
did an extrude curve, for the holes in the boards i draw the circles,
extruded them and did a bollean difference to take them of.
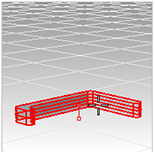
I did each component in a different layer and with a different color to identify them more easily.
The extruve curve command creates a surface by tracing the path of a curve in a straight line.
You can do this command in 2 steps:
1.select a curve;
2.specify a distance:
The BooleanDifference command trims the shared areas of selected polysurfaces or surfaces with another set
of polysurfaces or surfaces. You can do this command in 2 steps:
1.select surfaces or polysurfaces to subtract from, and press Enter;
2.select surfaces or polysurfaces to subtract from, and press Enter:
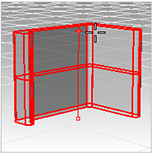
Then i put the bloks in order and design a possible box for the components, trying find the right shape and size.
Redering
I did my redering with rhino as well. The process needed to render scenes consists of four basic steps:
● Add lighting
● Assign materials
● Set up the environment and ground plane
● Render
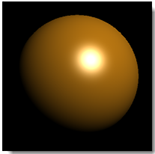
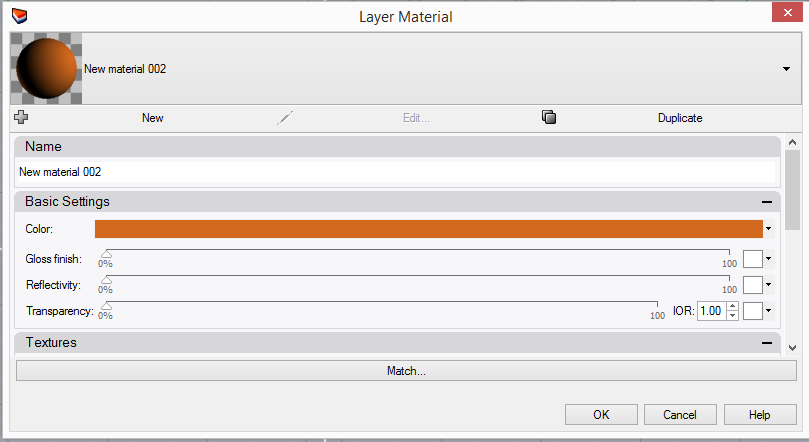
At the start i just appliend some basic materials. With the materials we can specify the color, finish,
transparency, texture, and bump for use by the renderer.
All materials have basic settings. The default material is white and matte, with no reflectivity or transparency.
To change the color you need to click the color swatch to select a color from the Select Color dialog box.![]()
The gloss finish adjusts the highlight from matte to glossy. To change the glossiness we need to move the slider to the right
to increase the glossiness.
The reflectivity sets the material's reflectivity, to change it you need to
move the slider to the right to increase the reflectivity and select the reflective color using the color swatch.
The transparency adjusts the transparency of an object in the rendered image, to change it you need to move the slider
to the right to increase the transparency and select the transparent color using the color swatch.
Then i applied decals, the decal allow you to applied an image to the surface of an object with
a given projection.
Decals are non-repeating textures that are applied to the surface of an object with a given projection.
They are an easy-to-use way of attaching single images or similar textures to
objects without going through the complexity of the texture mapping process.
You can learn more about this command here: https://docs.mcneel.com/rhino/5/help/en-us/properties/decal.htm
And did some tests with lights and envinonments.
 .
.
Animation
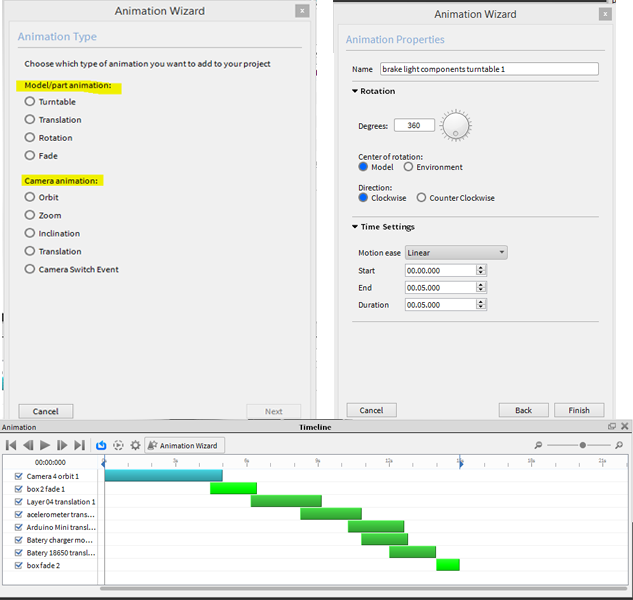
For the animation part, i did the animation on Rhino. I didn't know how to do it but it's actually pretty easy.
I used the 360 animation, you juste need to choose the type of image and number of frames! And the result is this!
Loop continuously
Show frame counter
Animation created in Rhino.
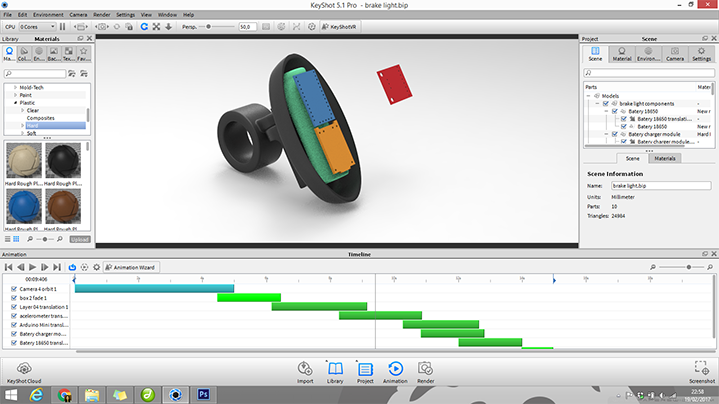
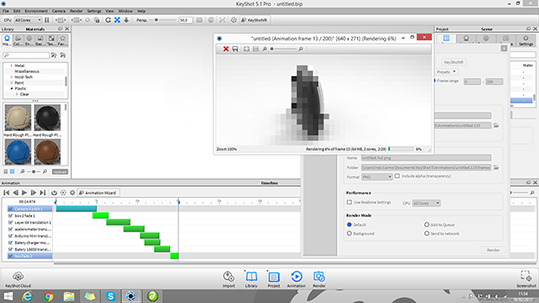
Then i tried to do another animation in Keyshot.
With Keyshot it's a little more complex process but still pretty easy. Basically you can choose if you want to animate a model/part
or if you want to animate with your camera. Then we choose or the camera or the part movement
and the time settings.
And this was the result:
;
You can download all my files here.